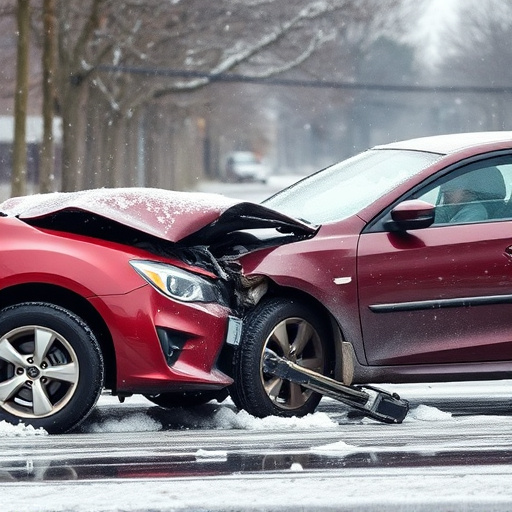


Adhesive bonding techniques are essential for vehicle bodywork repairs, offering strong and lasting solutions. Preparing surfaces, selecting correct adhesives (like polyurethanes or epoxy) based on material types and conditions, and proper application ensure structural integrity and seamless aesthetics. This method is crucial in hail damage repair and tire services, prioritizing strength and durability with the right bonding agent choice for diverse automotive settings.
Adhesive bonding techniques offer a powerful solution for reinforcement panel repairs, ensuring structural integrity and longevity. This comprehensive guide explores the fundamentals of adhesive bonding, guiding you through the selection of suitable adhesives for diverse materials and applications. Learn how to achieve strong bonds by following a step-by-step approach, designed to optimize performance in various repair scenarios. Discover the benefits of this versatile method for enhancing panel strength and durability.
- Understanding Adhesive Bonding Basics for Panel Repairs
- Choosing the Right Adhesives for Different Materials and Applications
- Step-by-Step Guide to Achieving Strong Bonds in Reinforcement Panels
Understanding Adhesive Bonding Basics for Panel Repairs
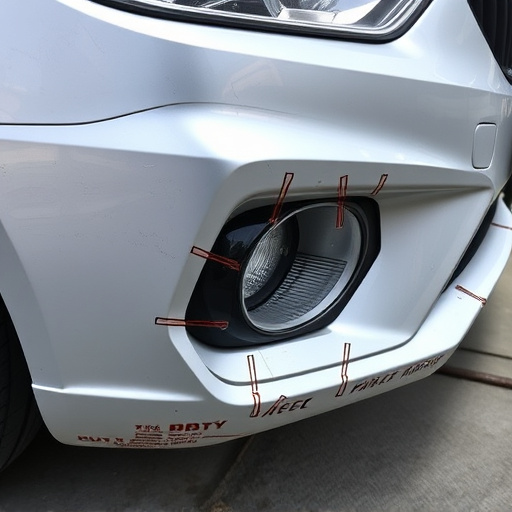
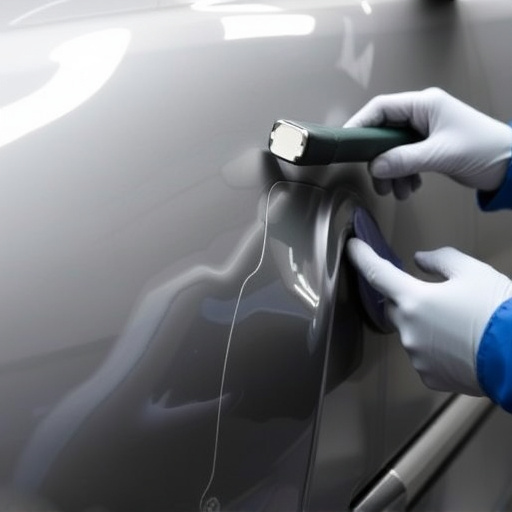
Adhesive bonding is a fundamental technique in panel repairs, offering a strong and lasting solution for vehicle bodywork. Understanding its basics is crucial when it comes to effective hail damage repair or tire services. This method involves using specialized adhesives to join two surfaces together, creating a durable bond that can withstand the rigors of daily driving. The process starts with preparing the surfaces, ensuring they are clean, dry, and free from any contaminants. Then, an adhesive is applied, following the manufacturer’s instructions for optimal performance.
For precise panel repairs, choosing the right adhesive bonding technique is essential. Different adhesives cater to various materials, such as metal, plastic, or composite, each requiring specific application methods. Proper adhesive selection ensures a strong bond, preventing future issues like rust or delamination. This approach is particularly valuable in vehicle bodywork, where aesthetics and structural integrity are paramount, ensuring that repairs not only look seamless but also provide the necessary reinforcement.
Choosing the Right Adhesives for Different Materials and Applications
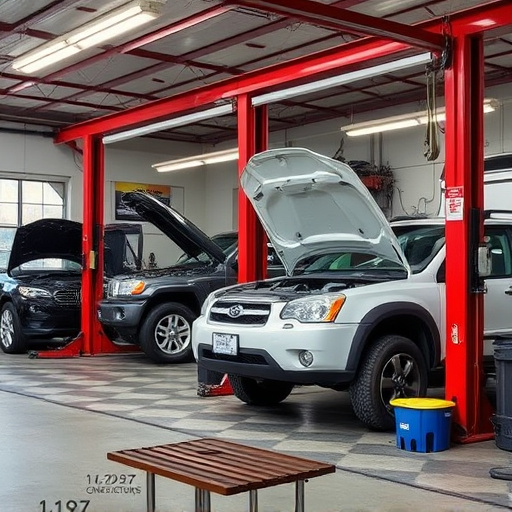
When it comes to adhesive bonding techniques for reinforcement panel repairs, selecting the appropriate adhesives is a critical step that cannot be overlooked. The choice of adhesive depends on various factors such as the type of materials being bonded (e.g., metal, composite, or plastic), the specific application, and environmental conditions. For example, in auto body services, where strength and durability are paramount, polyurethanes or epoxy adhesives might be preferred for repairing damaged panels or fenders, ensuring a strong bond that can withstand routine driving conditions.
In contrast, for more specialized applications like auto glass replacement or bumper repair, different adhesive properties may be required. Acrylic-based adhesives, for instance, offer excellent bonding capabilities for materials like polycarbonate and acrylic, making them suitable choices for these delicate repairs. Understanding the chemical composition and mechanical properties of each adhesive type allows professionals to match the right bonding agent to the task at hand, ensuring optimal results in various automotive or industrial settings.
Step-by-Step Guide to Achieving Strong Bonds in Reinforcement Panels
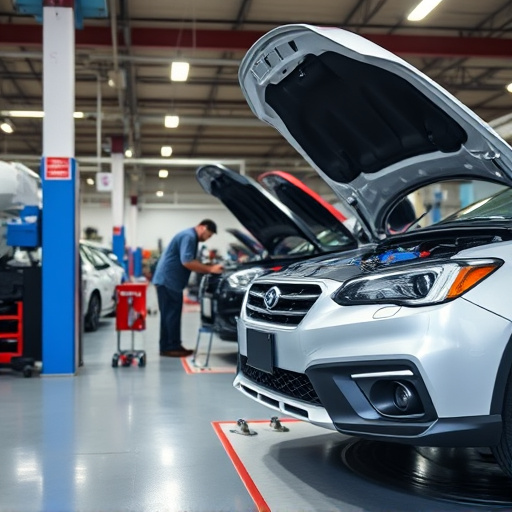
Achieving strong bonds in reinforcement panels is paramount for durable repairs in vehicle bodywork, especially in collision repair shops and automotive restoration projects. A systematic approach using adhesive bonding techniques can significantly enhance structural integrity. Here’s a step-by-step guide to ensure optimal results:
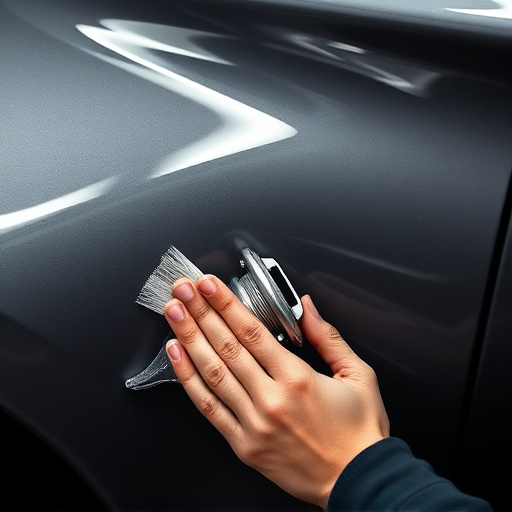
1. Preparation: Clean the surface thoroughly, removing any grease, dust, or debris. This includes sanding and deglazing for a smooth finish that promotes adhesion. Ensure proper ventilation to avoid inhalation of fumes.
2. Surface Priming: Apply a suitable primer designed for adhesive bonding. This step prepares the surface by increasing its reactivity and promoting better attachment of the adhesive. Let it dry completely according to the manufacturer’s instructions.
3. Adhesive Selection: Choose an adhesive specifically formulated for reinforcement panel repairs, considering factors like compatibility with materials, work environment, and desired bond strength. Always follow the manufacturer’s guidelines for mixing and application.
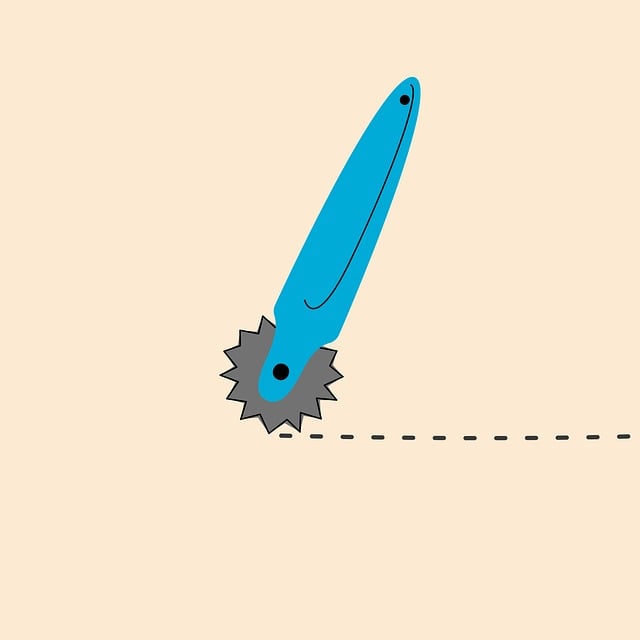
4. Application: Evenly distribute the adhesive onto both surfaces of the joint using a precision tool or brush. Ensure full contact between the panels for maximum bonding efficiency.
5. Pressuring and Curing: After applying pressure to secure the panels, allow the adhesive to cure as per manufacturer recommendations. This step is crucial for developing the strongest possible bond.
Adhesive bonding techniques have proven to be a game-changer in reinforcement panel repairs, offering robust and long-lasting solutions. By understanding the fundamentals of adhesive bonding and selecting the appropriate adhesives for specific materials and applications, professionals can achieve strong, durable bonds that enhance structural integrity. This comprehensive guide has equipped readers with the knowledge to navigate the world of adhesive bonding, ensuring successful repairs every time.